第二章
~リモート設定~| 目次 | MetaVNCの導入 | MetaVNCの設定 | クライアントの設定 |
VNCにもいろいろなものがありますが、今回はMetaVNCを入れましょう
この操作はクライント側サーバ側と両方に行いましょう。
MetaVNC -- a window-aware VNC
DLはこちらからできます。
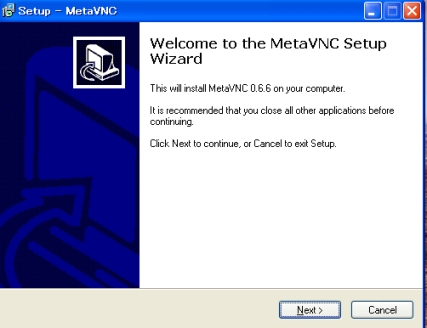
導入手順
①Next
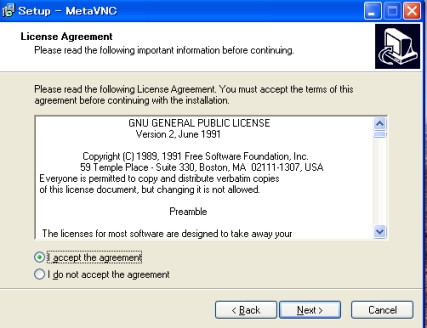
②I accept the agreement にチェック
③Next
④Next
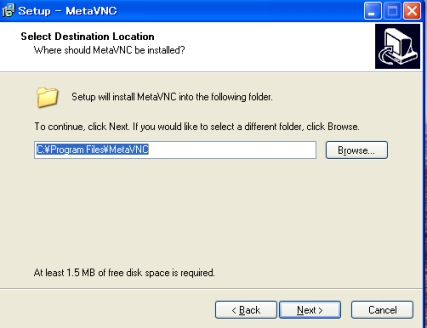
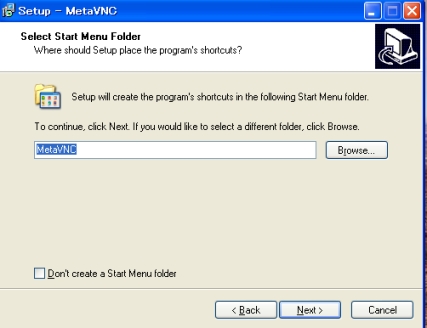
⑤Next
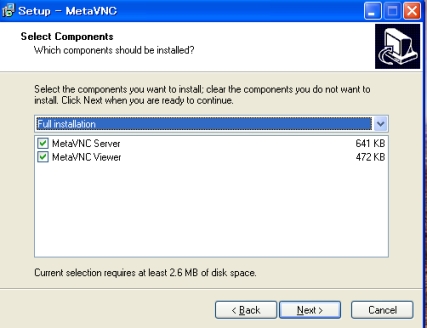
サーバー側にはServerにのみチェック
クライアント側にはViewerにのみチェック
⑥Next
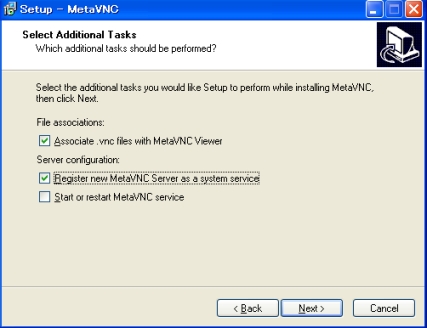
⑦Associate .vnc files with MetaVNC Viewerにチェック
⑧Register new MetaVNC Server as a system serviceにチェック
⑨Next
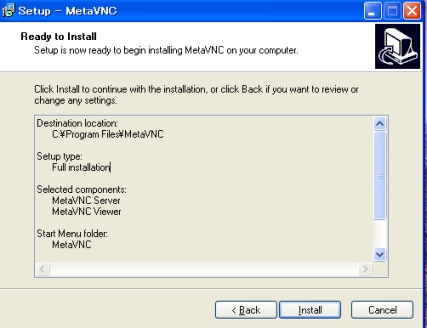
⑩Install
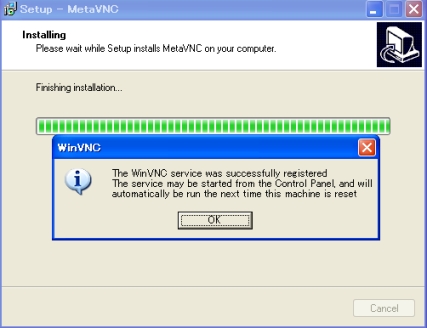
> 途中警告が出ますが無視でOKです。
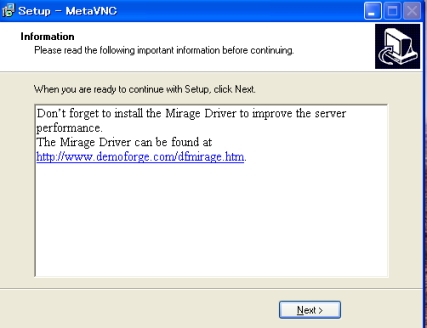
⑪Next
⑫Finish
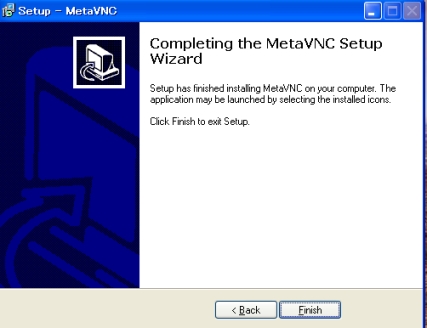
⑬再起動
完了です。